Explore, Analyze & Document your Code
Importing SSL Certificates in IIS
Importing an SSL certificate into Internet Information Services (IIS) enables secure HTTPS connections for your web applications. This process typically uses a .PFX file that contains both the certificate and its private key.
Prerequisites
- A valid SSL certificate file in .PFX format
- The certificate password
- Access to IIS Manager with sufficient permissions
Steps
1. Import the Certificate
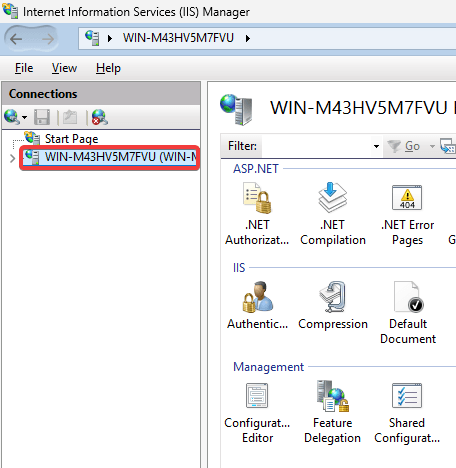
- Open your Internet Information Services (IIS) and select your application.
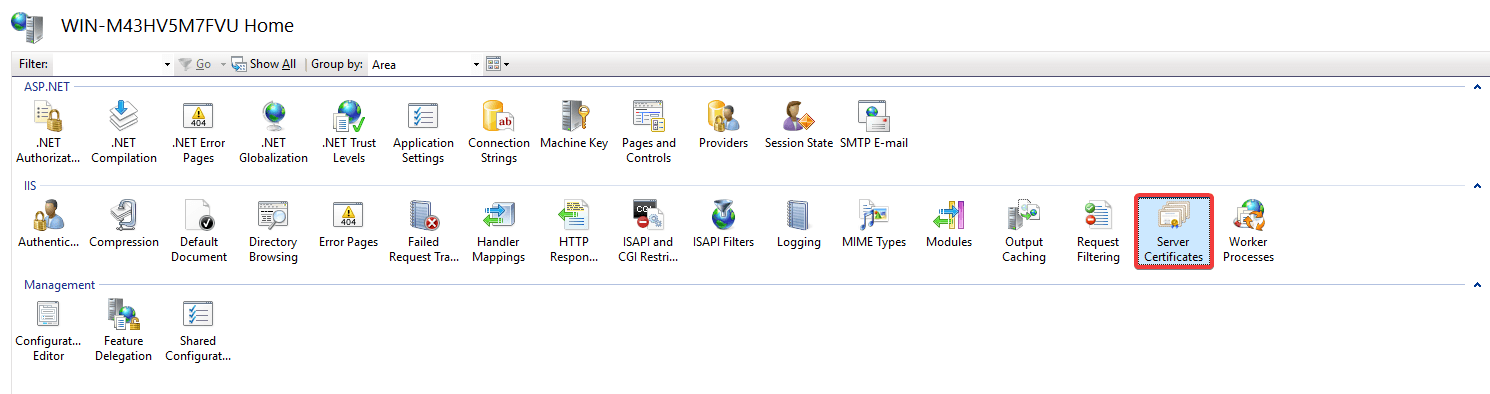
- Double-click on the Server Certificates icon.
- Click [Import] under the Actions tab.

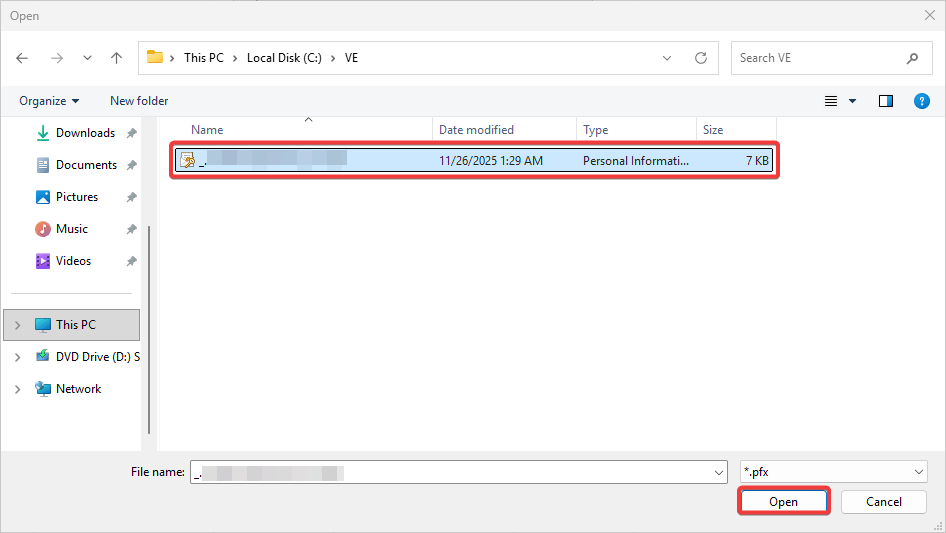
- The Import Certificate datawindow appears. Click on [...] to browse for your certificate file.
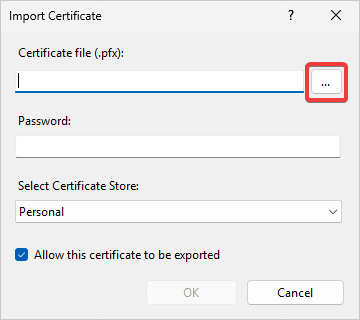
- Select the certificate file and click [Open].
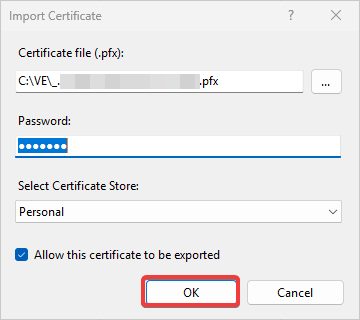
- Configure the certificate import settings:
- Enter the certificate password
- Select the certificate store
- Click [OK].
- Verify that the certificate appears in the Server Certificates list on the Dashboard as below:

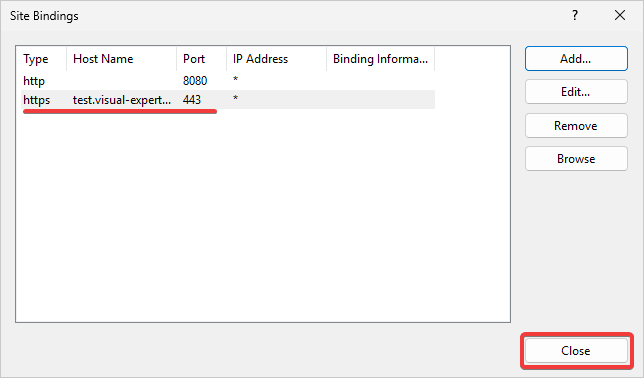
2. Bind the Certificate to a Website
- Select your website and click Bindings.

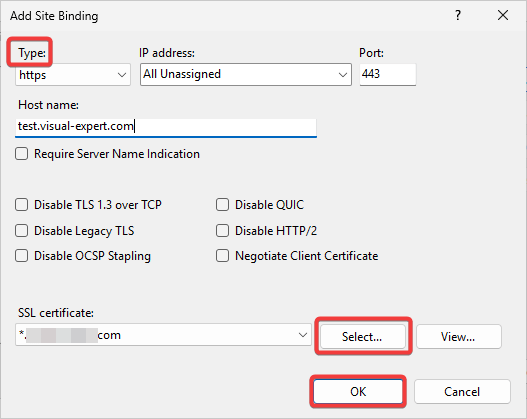
- The Site Bindings datawindow opens. Click on [Add].

- Configure the site binding:
- Type: https
- Host name: your domain name
- SSL certificate: select the imported certificate
- Click [OK].
- Review the certificate in the site binding list and click on [Close].