How to Send a Generic VELog
Follow these steps to generate and send a VELog file:
- Step 1: Start Visual Expert and open project → Click [Help] in the Ribbon → Click on [Get Support].

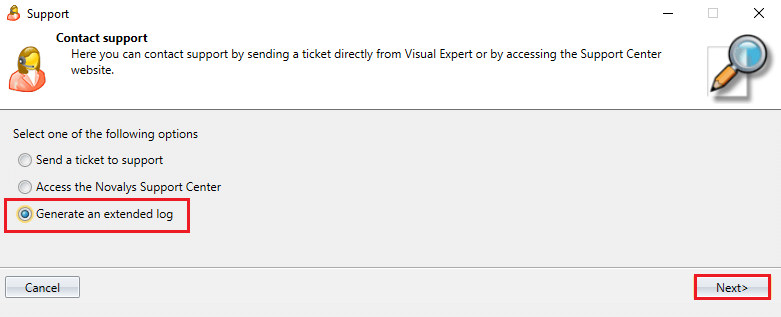
- Step 2: A new wizard opens. Choose “Generate an extended log”. Click [Next].
-
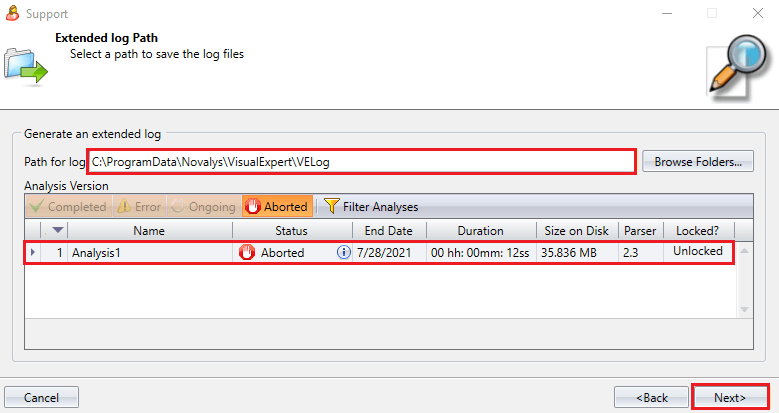
Step 3: Select the analysis for which you would like to generate the VELog. If needed, change the folder where the log will be generated → Click [Next].
The VELog generation will start, and a progress bar will show the status.
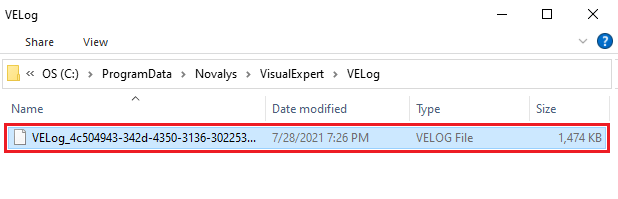
- Step 4: After the log is generated, a confirmation message will appear. Click [Browse Log] to open the location of the generated file.

- Step 5: The VELog files will be displayed in the folder. Each file is encrypted for security.
-
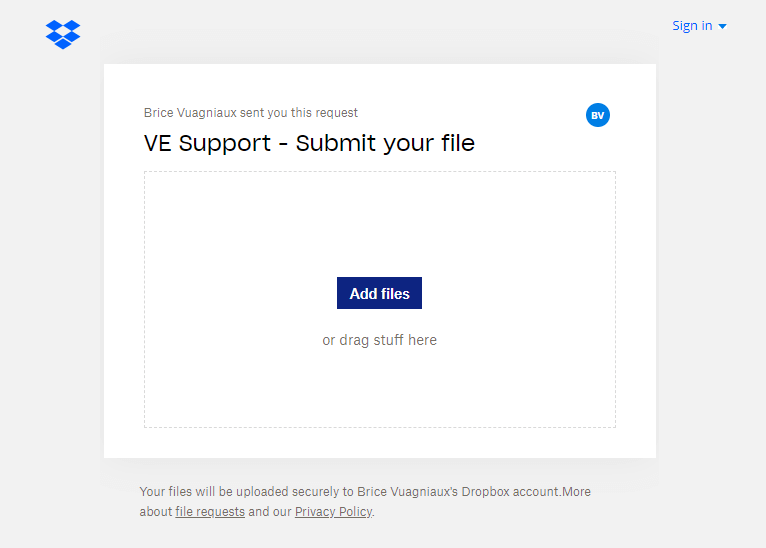
Step 6: Copy the VELog file to a computer with internet access. Open the upload page and submit your VELog file there.