This procedure explains how to send an Extended Log (referred to as VELog due to its *.velog extension) in cases where code analysis fails to complete, even if the VE client crashes.
How to Send an Extended Log for Failed Analysis?
- Click the
 icon in the Quick Access Toolbar to open your project.
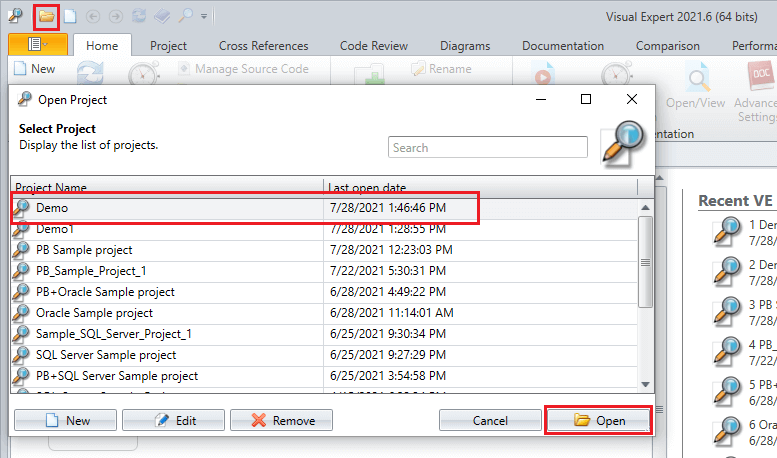
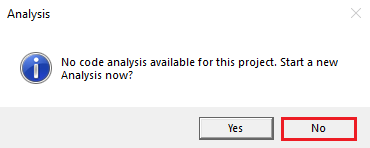
- A dialog box will appear to commence a new analysis as shown below. Click [No].
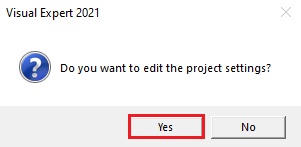
- Another dialog box will appear to edit project settings. Click [Yes].
- The project settings window will open. Just close it.

- Now, go to the 'Help' tab in the Ribbon. Click on [Get Support].

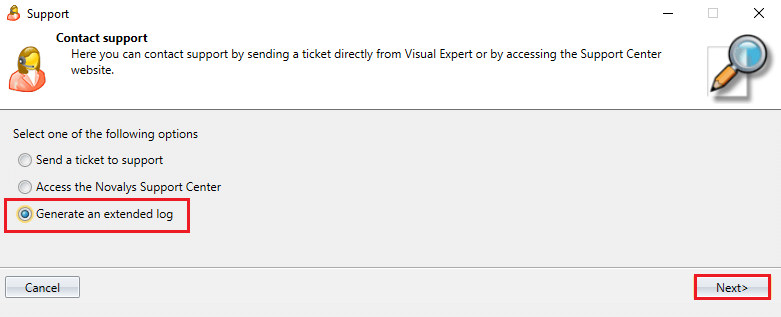
- The Contact Support wizard will open on your screen.
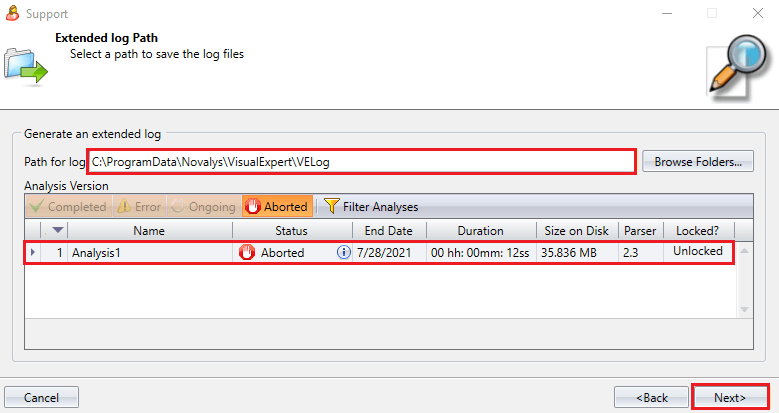
Select "Generate an extended log" and click [Next].
- Select the analysis that failed to complete.
If needed, change the folder where the Log will be generated.
Click [Next].
- Visual Expert will generate a VELog (Extended Log) and open a new window. (See Below)
Click on [Browse Log].

- You will be directed to the VELog files available on your computer. Each file is encrypted.
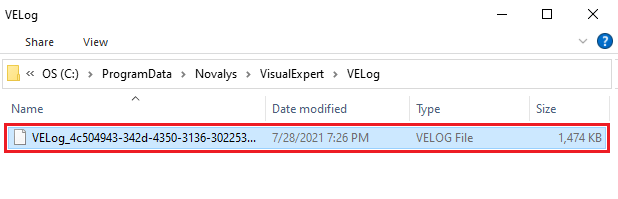
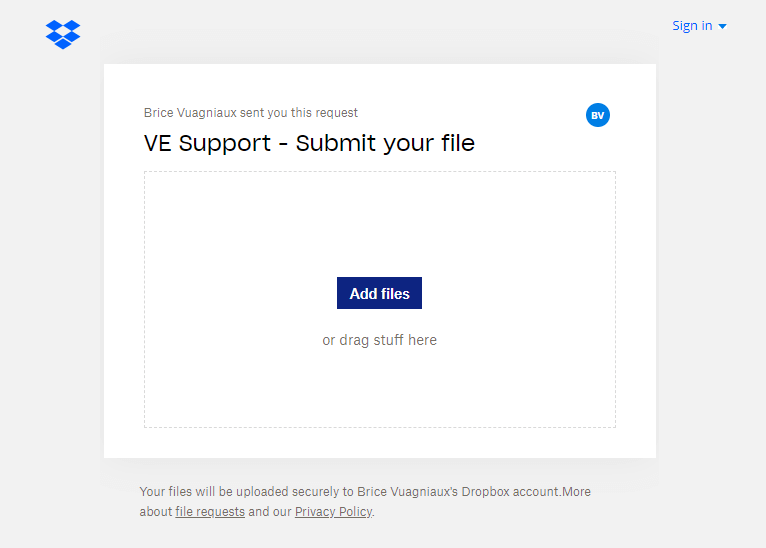
- Select the VELog file you want to submit, and upload it to this page.
See Also
- Open a ticket
- How to Send a Generic VELog
- How to Zip VELog Files for Support
- Difference Between Log Files and VELog
- Visual Expert Freezing or not Responding