Visual Expert allows you to analyze T-SQL code directly from your Oracle database. This guide explains how to configure the Visual Expert connection to your T-SQL DB using the various Connection Types.
Case 1: Connection Type – Basic
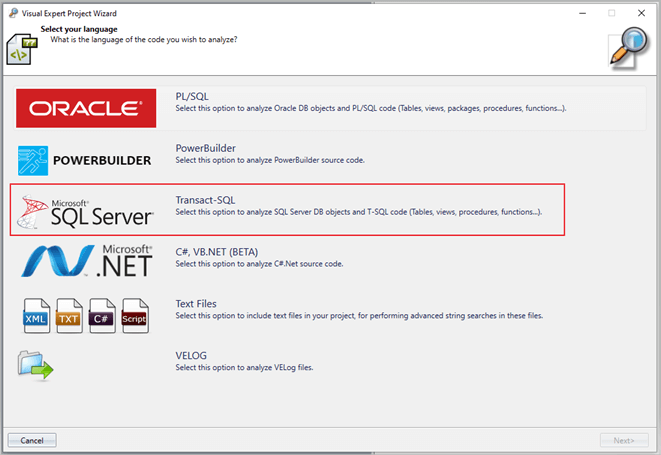
- Open Visual Expert, click [New] on the ribbon menu to open the "Create Project" wizard.
Select [Transact-SQL] in the next pop-up.
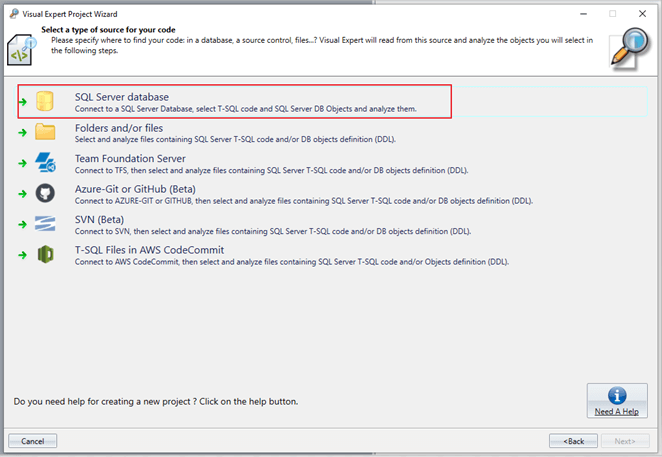
- Click on [SQL Server Database] in the SQL Server DB connection page.
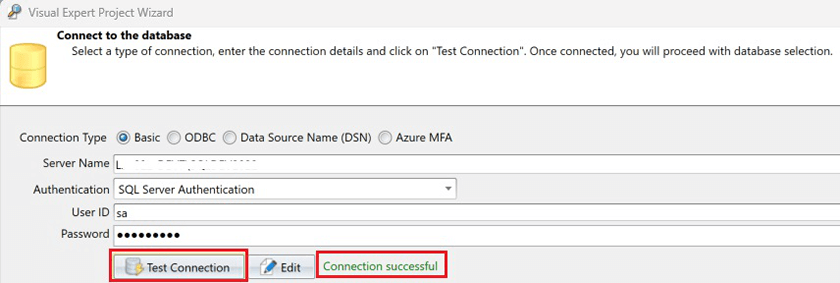
- Enter the username and password.
Click [Test Connection] and wait a few seconds for a "Connection Successful" message.
Then, click [Next] and follow the wizard.
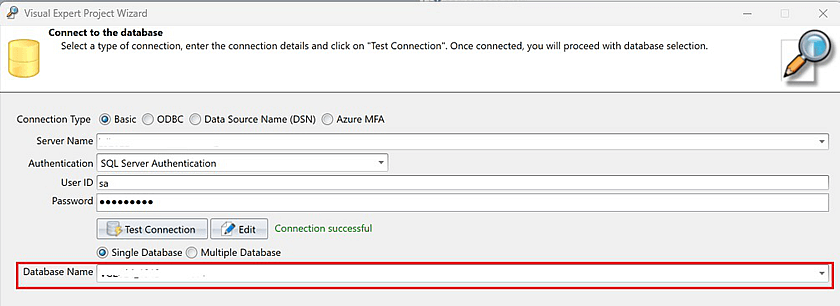
- Once the connection is successful, choose the database from the provided dropdown and proceed further.
Case 2: Connect using ODBC
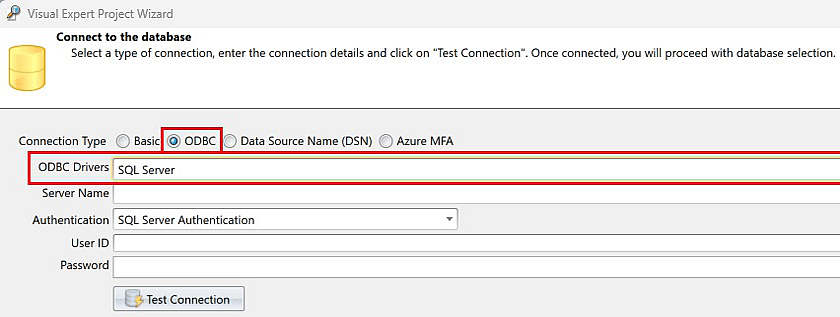
- Follow the above mentioned steps to arrive at the page below and select the [ODBC] radio button.
From the ODBC drivers dropdown, select the appropriate ODBC drivers for SQL Server.
- Enter Server Name, Authentication type, User ID and Password.
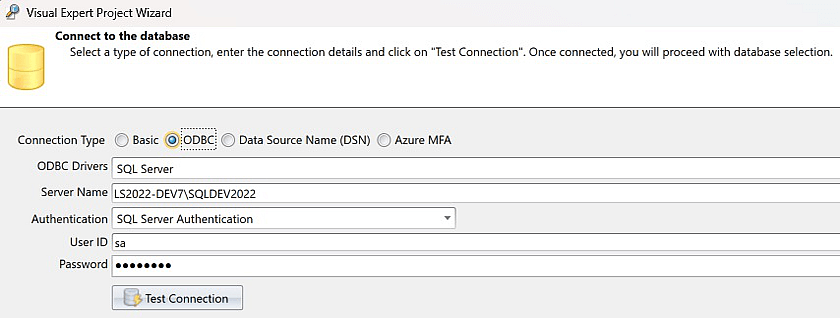
- Click on [Test Connection].
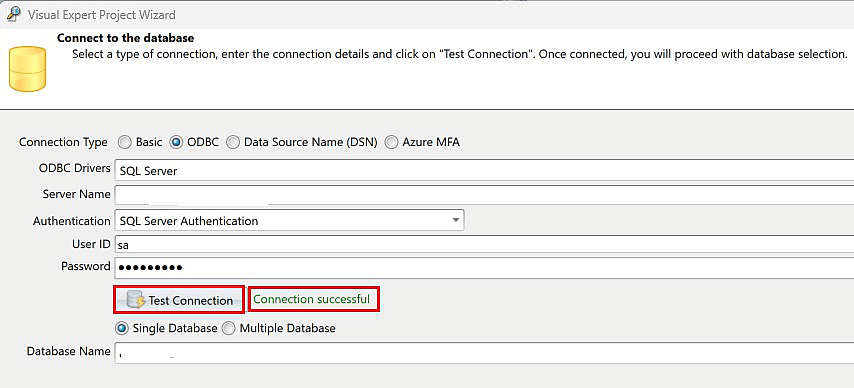
Once connected successfully, select a "Database Name" from the dropdown list to analyze.
Click [Next] and follow the wizard to analyze the added source code.
Case 3: Connect using Data Source Name (DSN)
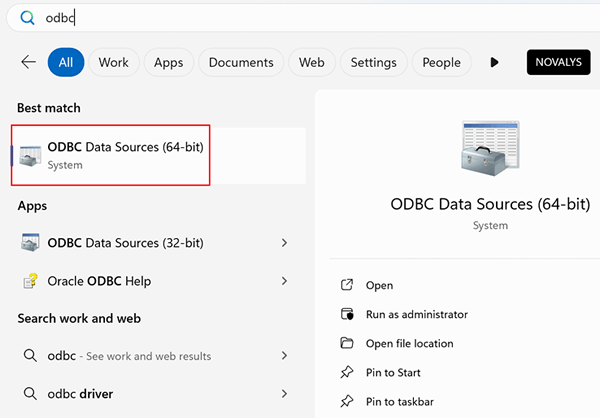
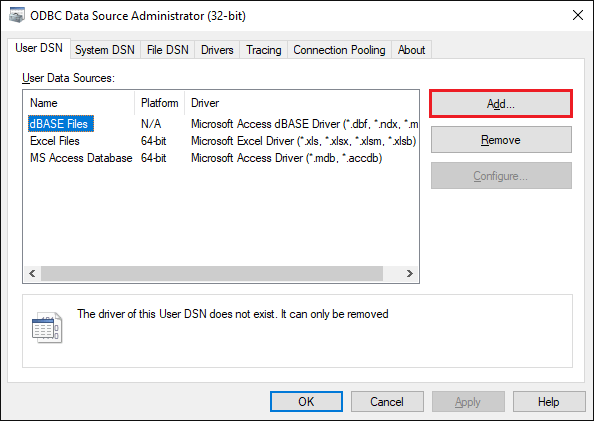
- You need to create a Data Source Name. Open the "ODBC Data Sources" on your PC.
- The ODBC Data Source Administrator will open on your screen. Click on [Add].
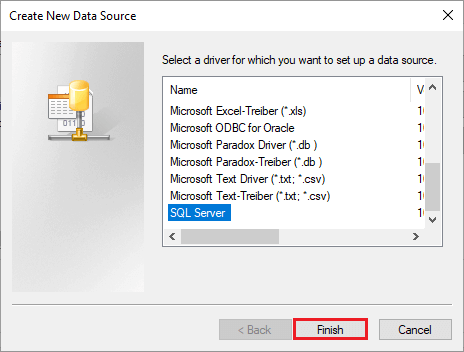
- Select the appropriate ODBC drivers for SQL Server. Click on [Finish].
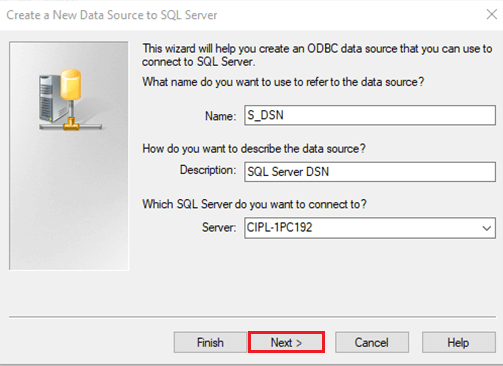
- Enter the DSN name, description and Server name. Click on [Next].
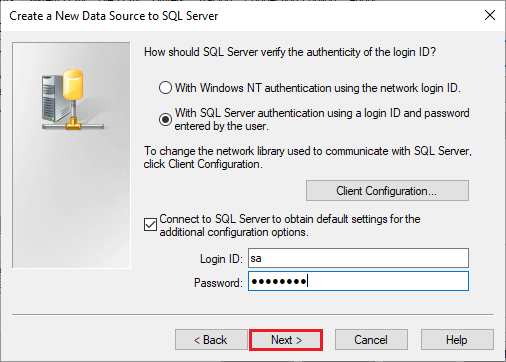
- Select your preferred authentication type and enter the required credentials. Click on [Next].
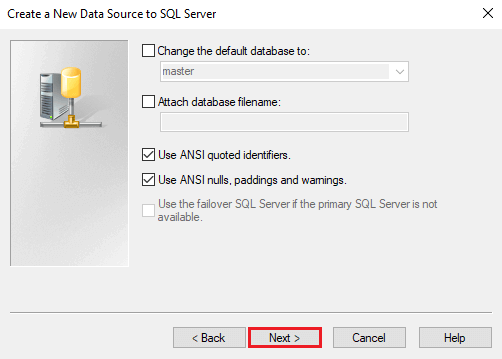
- Click on [Next] to proceed.
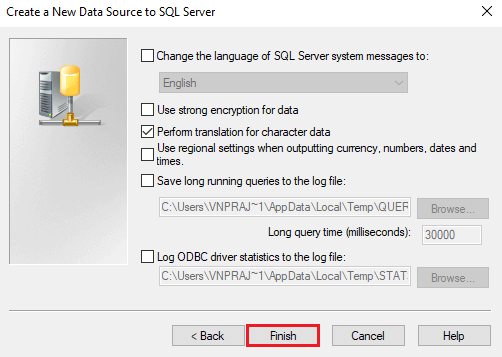
- Click on [Finish] to complete the configuration.
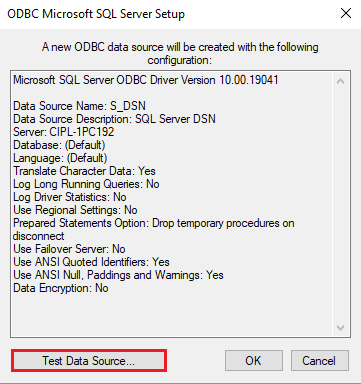
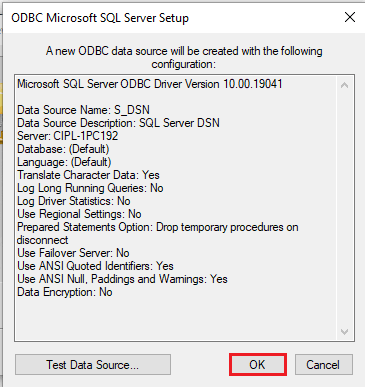
- Click on [Test Data Source] to check the SQL Server connection.
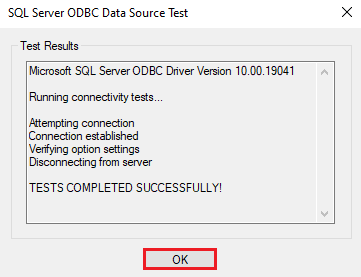
- Once the connection is tested successfully, click on [OK].
- Click [OK] to close the ODBC SQL Server Setup window.
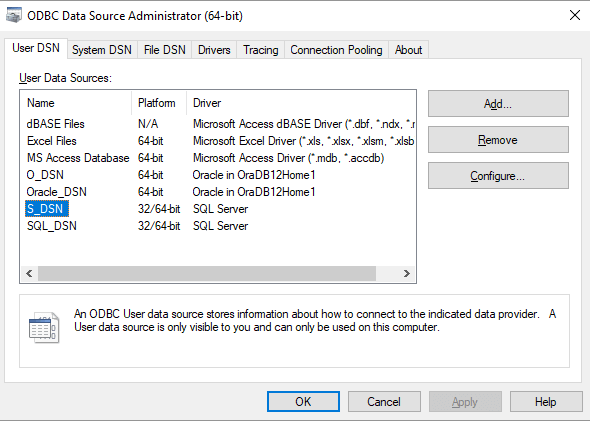
- You will see that the newly created DSN is added to the Data Source Administrator.
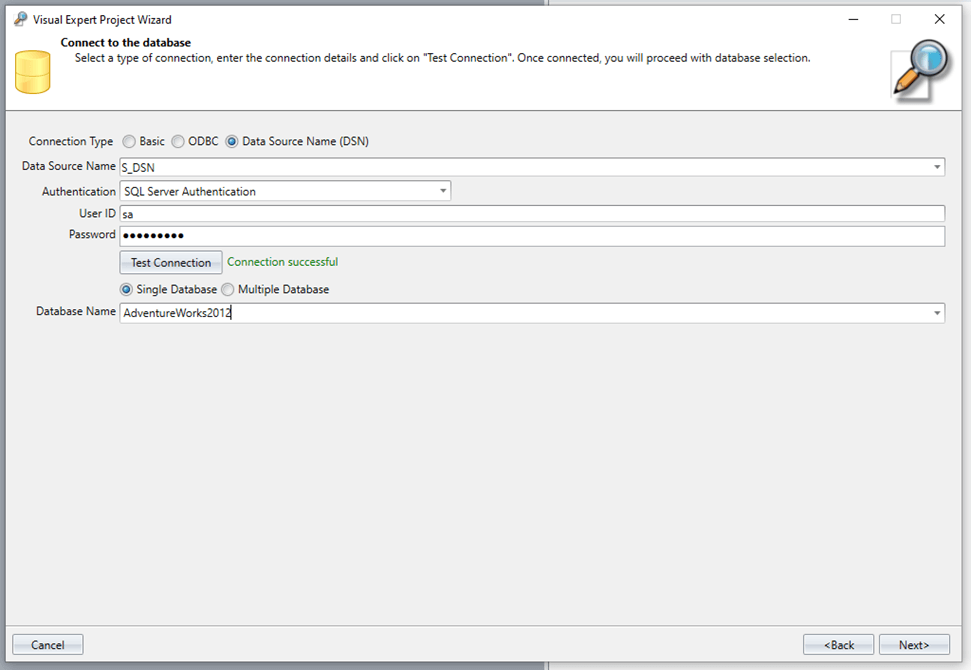
- Open Visual Expert. Select the [Data Source Name] radio button as connection type.
Enter the Data Source Name, Authentication type, User ID and Password. Click on [Test Connection].
Once connected successfully, select the database from the dropdown list and proceed with the project creation.
Case 4: Connection Type – Azure MFA
- Follow the above mentioned steps to arrive at the page below and select the [Azure MFA] radio button.
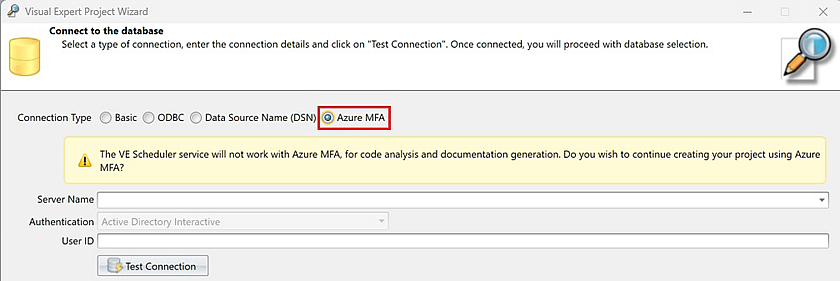
- Enter the Server Name and your User ID (Email ID).
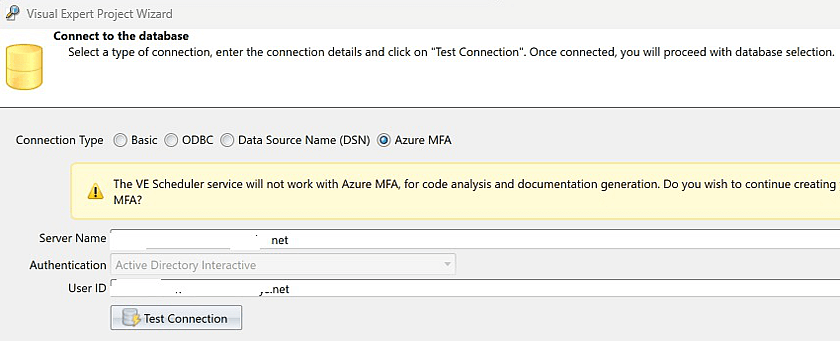
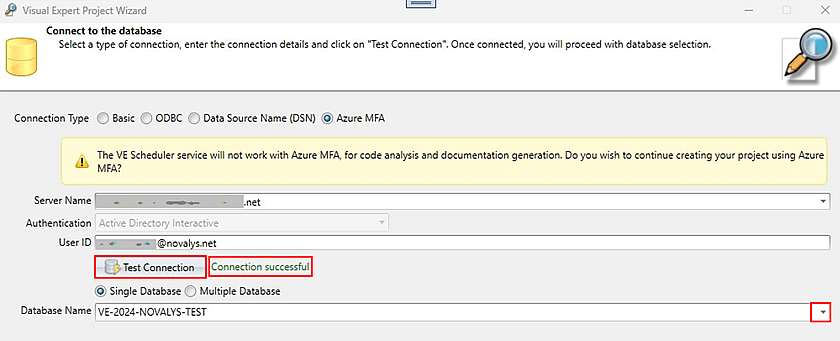
- Click on [Test Connection].
Once connected successfully, select a "Database Name" from the dropdown list to analyze.
Click [Next] and follow the wizard to analyze the added source code.
More from VE Configuration
- Configuring Oracle Cloud Database Connection
- Windows Authentication for Connecting to a VE Repository
- How to Join GoToMeeting from Desktop App