Creating a New Project Using ws_objects Folder
Prerequisites
- Visual Expert installed
- PowerBuilder source code extracted to ws_objects folder containing *.pbl.src directories
Step-by-Step Instructions
1. Initialize Project Creation
- Launch Visual Expert
- Start the Create New Project wizard
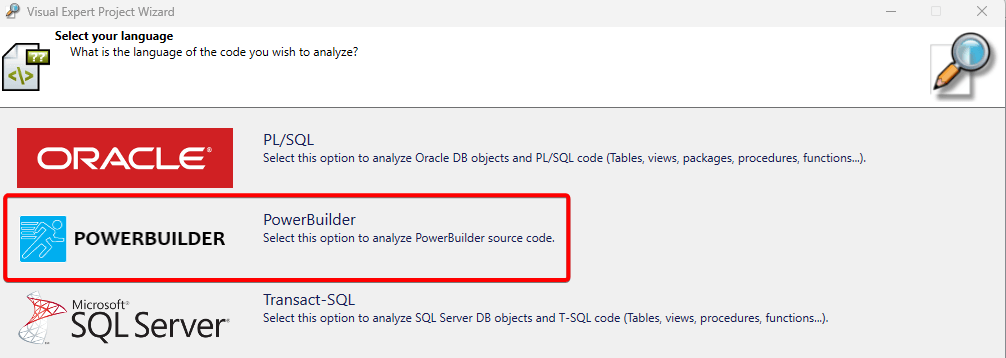
- Select PowerBuilder as the project language
- Click Next
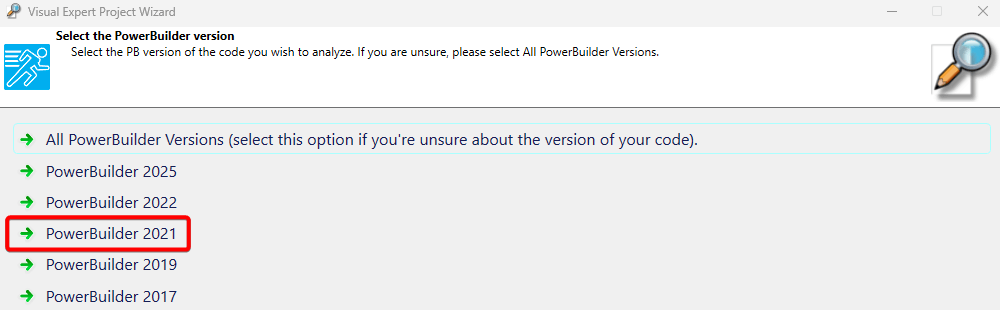
2. Configure PowerBuilder Settings
- Select your PowerBuilder version from the dropdown menu. Click Next.
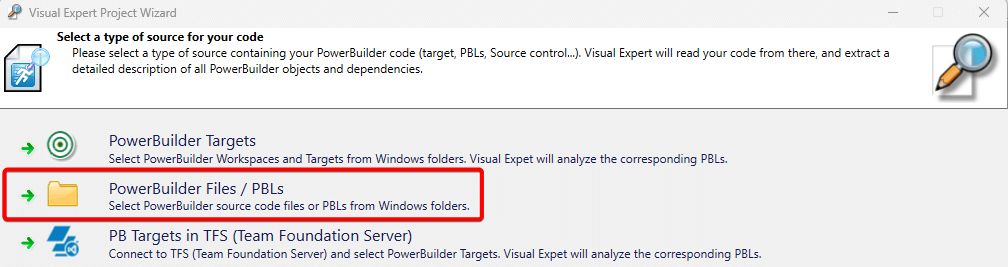
3. Specify Source Code Type
- In the source code selection dialog, choose Files/Folders. Click Next.
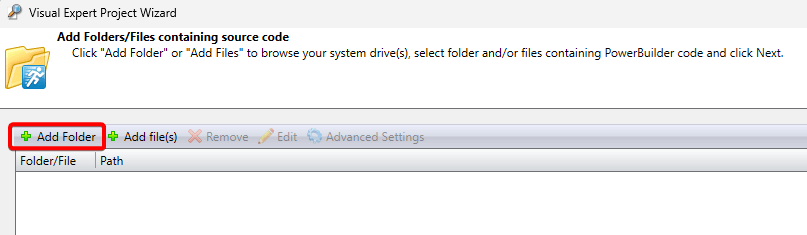
4. Add Source Code Folder
- Click the Add Folder button.
- Locate the folder containing the ws_objects directory with *.pbl.src folders. For Example:
ExtractedPBExample2/ws_objects/ - Select the appropriate folder and click Select Folder.
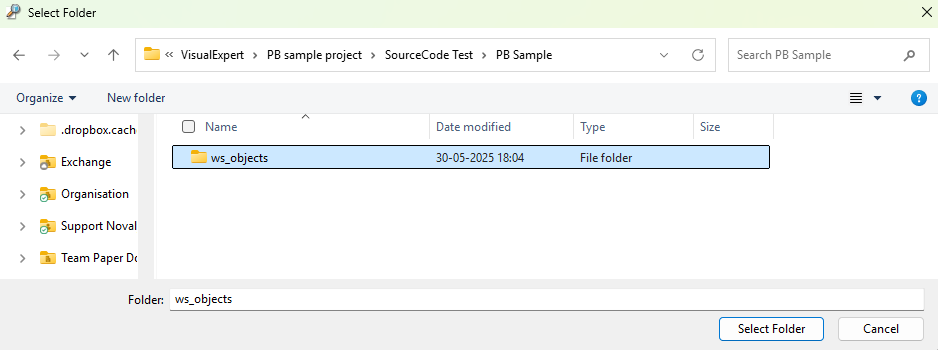
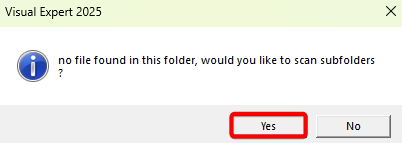
- When prompted, click Yes to confirm the folder selection.
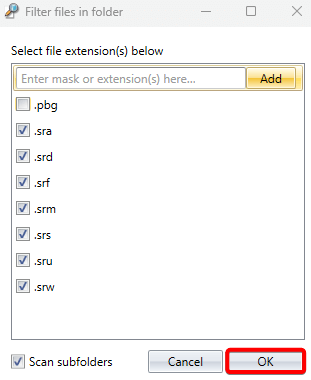
5. Configure File Extensions
- In the file extension dialog, select the required extensions you want to include in your project. Click OK.
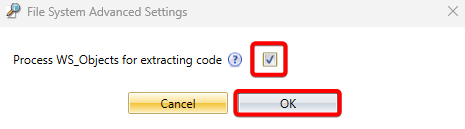
6. Configure Advanced Settings
- After the source code appears in the project list, select it
- Click the Advanced Settings button
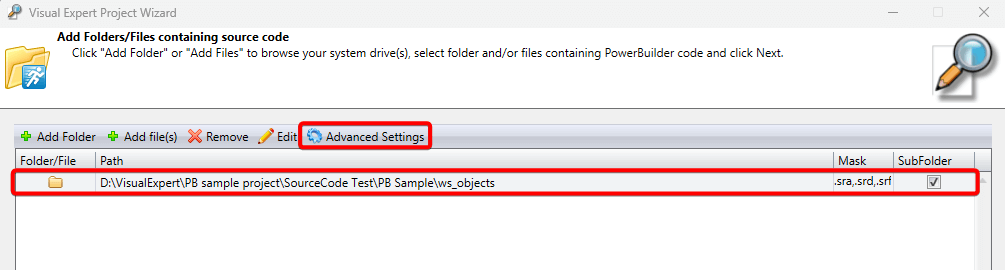
- In the Advanced Settings dialog:
- Select the checkbox Contains WS_Objects with extracted code
- Click OK
- Click Next to continue
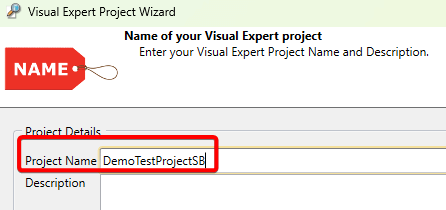
7. Name Your Project
- Enter a descriptive name for your new project. Click Next
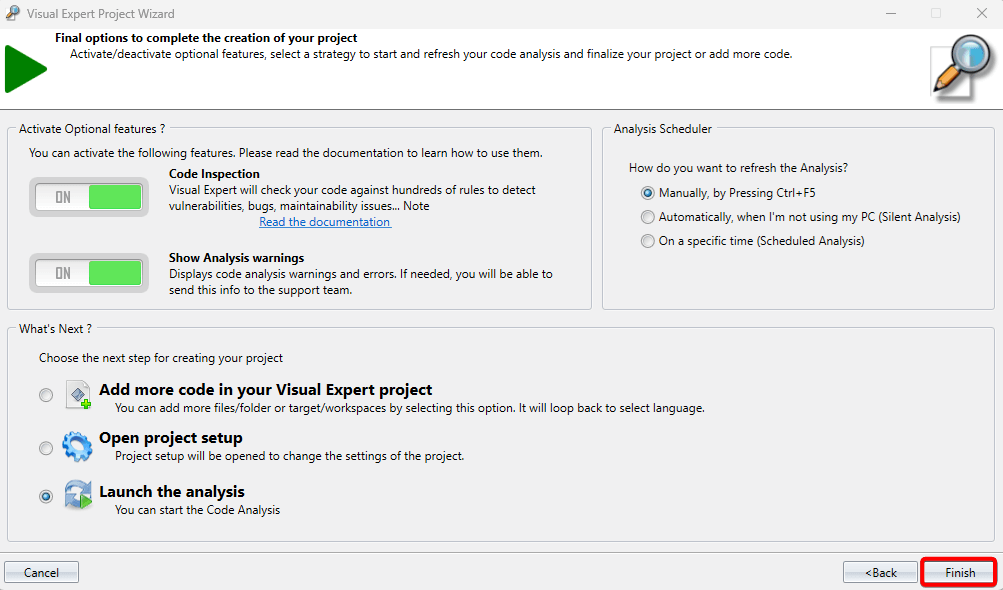
8. Complete Project Creation
- Review your project settings. Click Finish to create the project
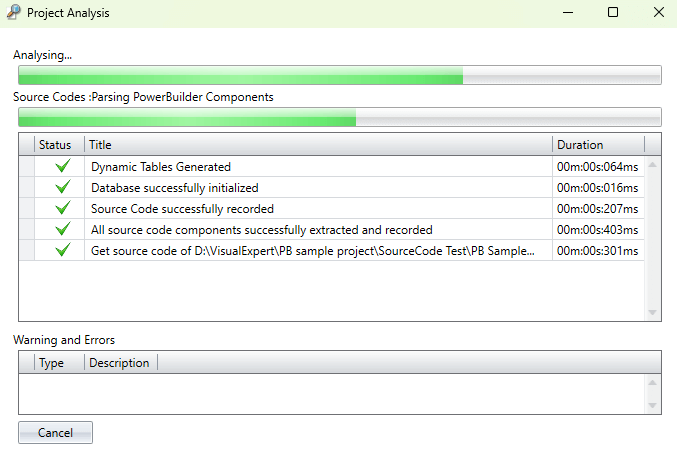
9. Analysis Process
The system will now:
- Create the project structure
- Begin automatic source code analysis
- Display progress indicators during processing
10. Review Results
- Once analysis completes, results appear in the tree view
- Each *.pbl.src folder is treated as a separate PBL (PowerBuilder Library)
- Corresponding PBLs display in the project tree view
- Select the PBL node in the tree view
- Execute the All PBLs macro to display all libraries

11. View Component Details
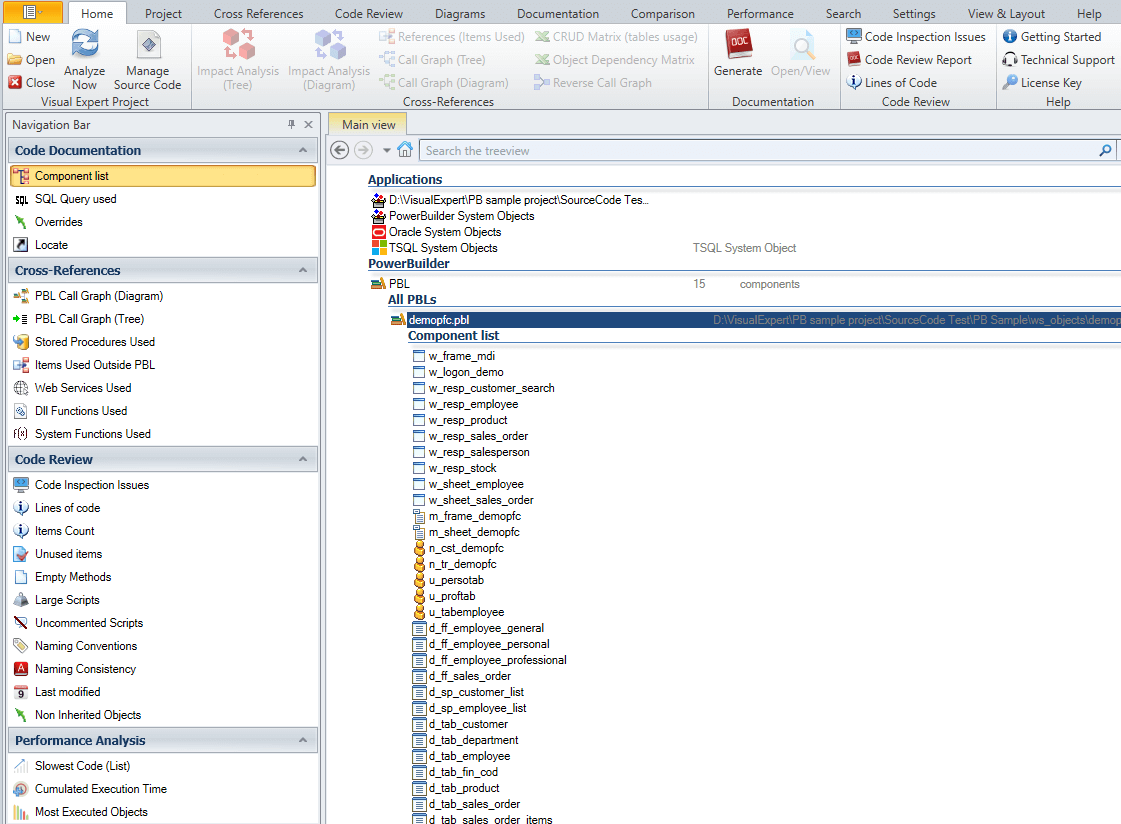
- Select any individual PBL from the tree view
- Click Component List to view all components within that folder/library
Troubleshooting Tips
- Ensure your ws_objects folder structure is properly extracted before starting
- Verify that *.pbl.src folders contain valid PowerBuilder source files
- If analysis fails, check file permissions and folder accessibility
Next Steps
After successful project creation, you can begin code analysis, generate documentation, or perform other Visual Expert operations on your PowerBuilder codebase.