Follow the steps below:
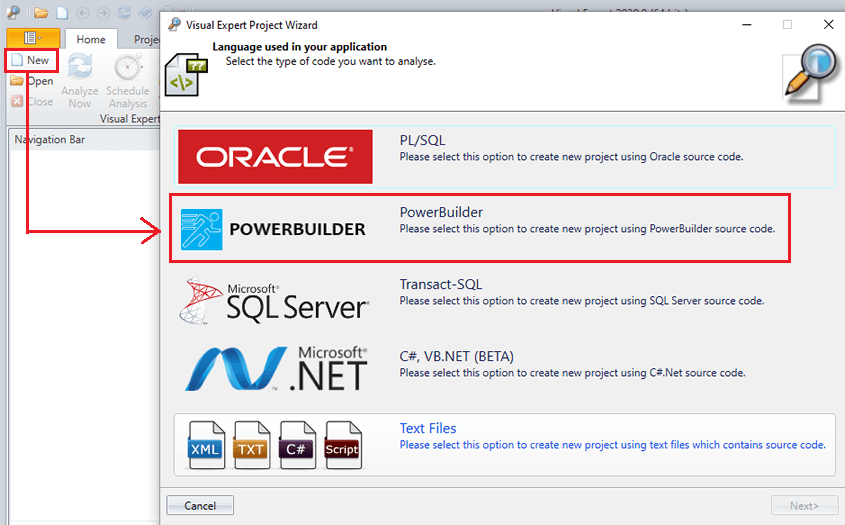
- Click ‘New’ on the ribbon menu and select ‘PowerBuilder’ in the next pop-up.
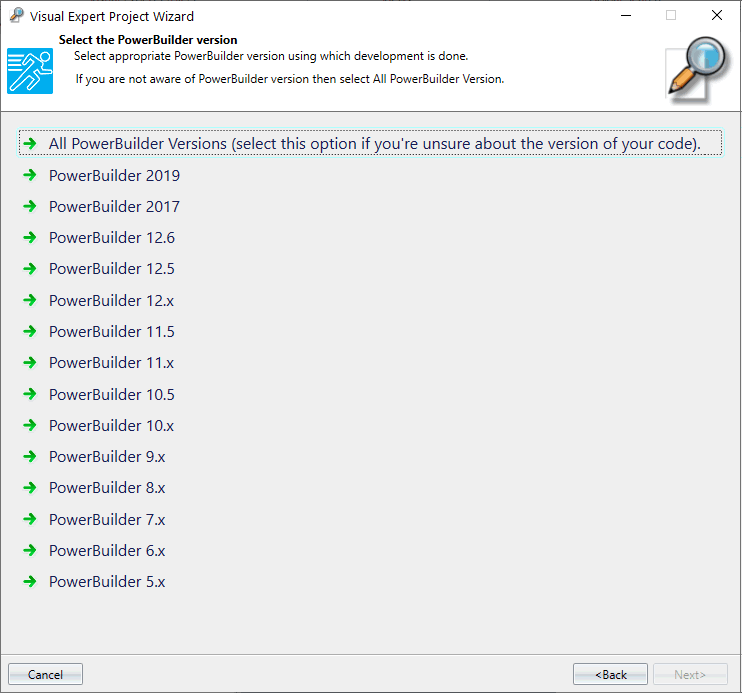
- Choose the PowerBuilder version that matches your code.
- Click on ‘PowerBuilder library folders/files’.
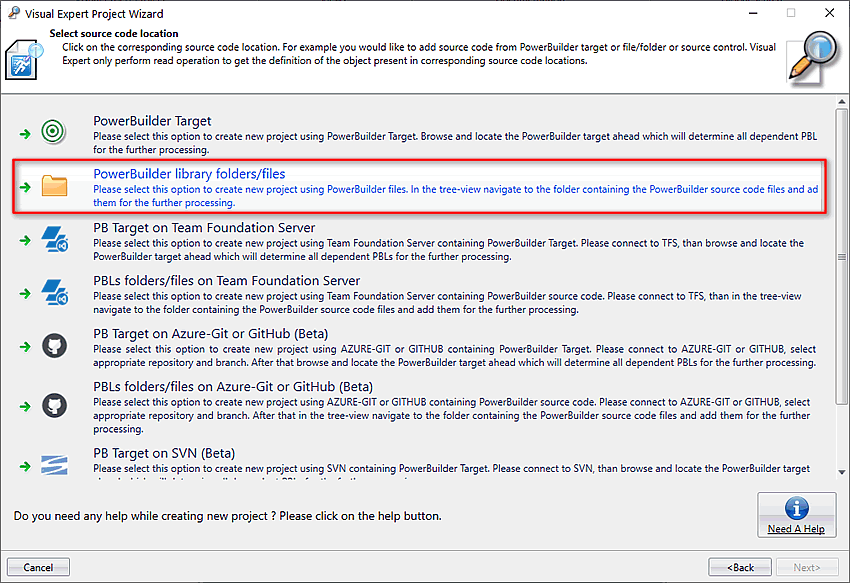
Check this tutorial for more details on importing source code from GIT, SVN or TFS.
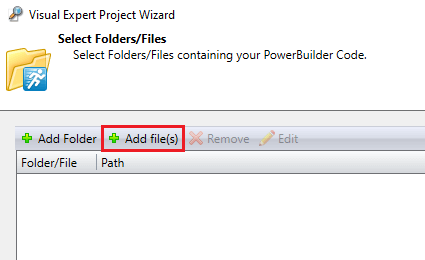
- Click on “Add files” to specify the location of your PB code. Then, click "Next".
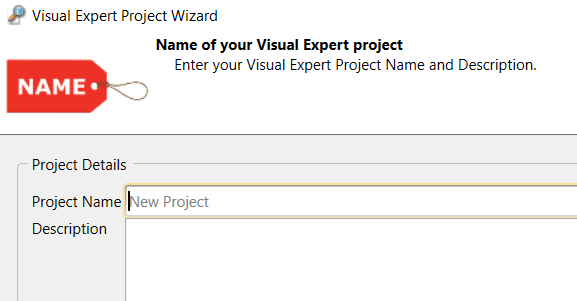
- Provide a Name and Description for future reference.
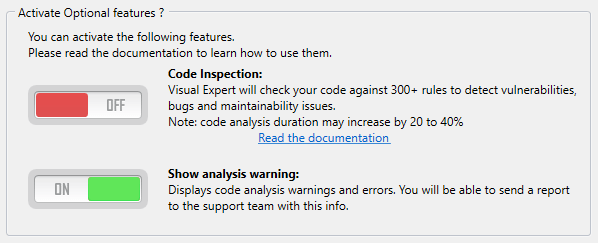
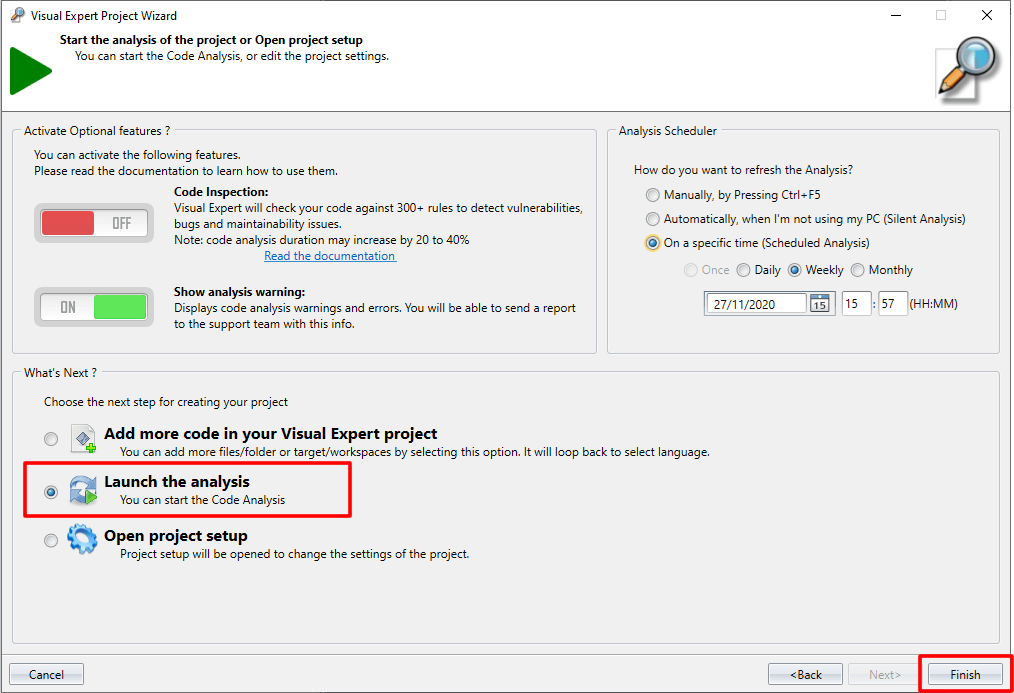
- Decide if you want to activate Code Inspection Features.
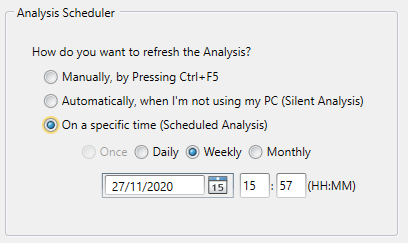
- Set the scheduler to refresh your code analysis automatically on a regular basis.
- Select "Launch the analysis", then click "Finish".
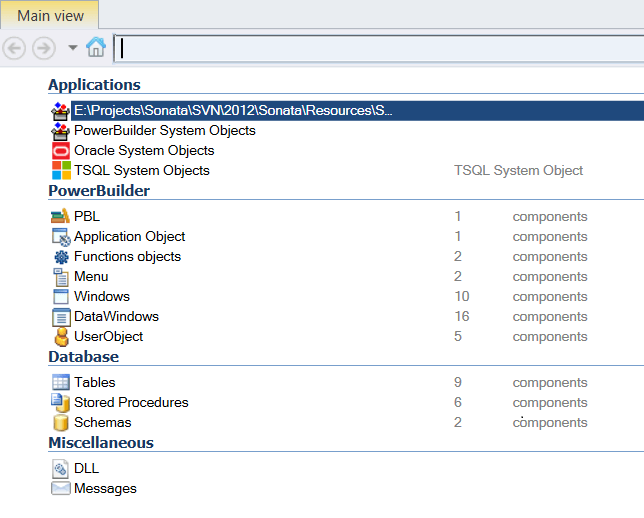
- Once the analysis is complete, you can navigate the PowerBuilder objects in the treeview: